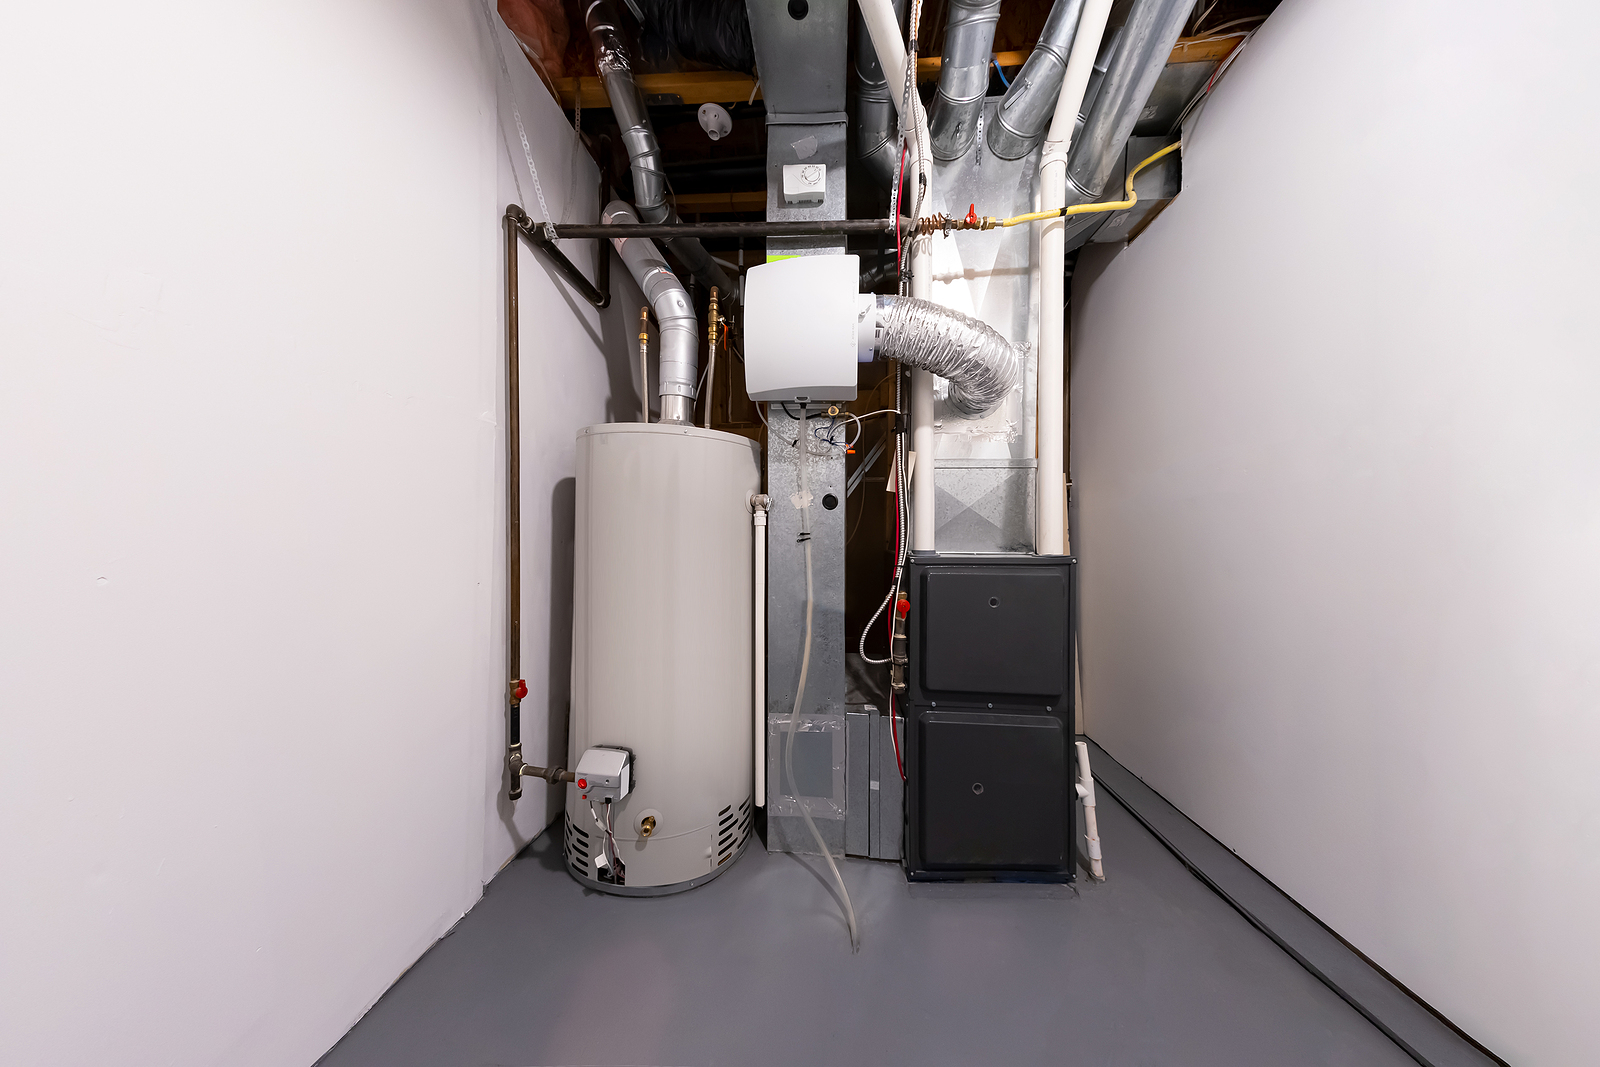
There are so many ways to heat a home. Some heating systems share components with the home’s cooling system, while others work independently. Some are more effective for large spaces, while others are better for zoned heating. In some cases, a home can have more than one heating system: For example, homes with recent additions or seasonal rooms often use a different heating method for those rooms. And the different systems use a variety of fuel sources, including natural gas, propane, fuel oil, electricity, or solar. The type of heating system you have in your home will depend on several factors, including your home’s specific heating needs as well as your own preferences. Ultimately, the right home heating system will keep your home comfortable while using energy efficiently. If you’re planning a move or looking to update your existing home’s HVAC system, there are many factors to consider in choosing the right system for you. Here are five common home heating systems, with pros and cons for each, to help you make the right choice for your home. 1. Forced-Air Furnace The most common type of home heating system in North America is the forced-air furnace. It uses a heat exchanger to warm air, which is then pushed by a blower fan through a duct system to registers throughout the house. Another system of ducts then returns air back to the furnace through cold-air returns. The forced-air furnace is multipurpose, as it can be combined with a cooling system, using the same ductwork and fan. It can run on natural gas, propane, fuel oil, or electricity (but natural gas is the least expensive and most efficient). Pros: High efficiency ratingsAffordableLong-lasting: can last 15-30 years before you’ll need a furnace replacementCan be combined with A/CHeats and cools quicklyFilters and humidifiers can be added Cons: Fan can be loudGas furnaces pose a fire riskPotential source of carbon monoxide poisoning (make sure you have a CO detector near your furnace!)Can dry out the air in your home (if not combined with a humidifier)Requires space for ductwork in walls 2. Boiler and Radiator System Traditional boiler and radiator systems are most often found in older homes. The boiler works by heating water in a tank that is then sent through a series of pipes connected to radiators throughout the house via electric pumps (though some circulate steam through the pipes, rather than hot water). This type of heating system is great for providing zoned heating, but is not as efficient as a forced-air system for heating large areas. Boilers can run on natural gas, propane, electricity, biodiesel blends, or fuel oil (but most boilers in the U.S. run on natural gas). Pros: Natural gas boilers are extremely efficientEasy to control the heat in individual roomsWon’t dry out the air like a forced-air furnace canTraditional upright cast iron radiators can be updated to baseboard or wall panel options Cons: Repairs can be expensiveRadiators take up space, and you can’t put furniture or window coverings close to themCan’t combine with A/C 3. Baseboard Heaters Baseboard heaters (also known as zone heaters) send hot air out of the top of the unit while pulling cool air into the bottom. There are two main types of baseboard heaters: hydronic and electric. Hydronic baseboard heaters are essentially a modern version of traditional radiators. A central boiler heats water that then circulates through a system of piping to low-profile baseboard heating units. The boiler can run on natural gas, propane, fuel oil, or electricity. Baseboard heaters also work great as a supplement to solar heating systems. Pros: Very energy efficientRuns quietlyLow maintenancePrecise temperature controlLong-lasting — can last for several decades Cons: Takes up space, limiting where you can place furniture (units can’t be blocked)Slow to...
Read MoreOkay, so you just invested in a brand new furnace. Maybe you even went the extra mile and got yourself a high efficiency heating system. Now the question is, how do I get the most out of my investment? Here are seven things you can do to make your furnace last longer. 1. Get on a Maintenance Schedule In Minnesota, furnaces are the real winter workhorses, pulling their weight for approximately five to six months straight! If you don’t want yours to kick the bucket too early, make sure your furnace is on a proper maintenance schedule. Routine maintenance reduces chances of equipment failure, increases equipment lifespan, and helps supply cleaner indoor air. And the great news is that maintenance agreements typically pay for themselves by increasing HVAC efficiency and reducing the likelihood of costly furnace repairs down the road. The bottom line: consistent maintenance will make your furnace last much longer. 2. Keep Air Filters Clean Air filters gather dust, dirt, and other contaminants that would otherwise damage the unit. Have you taken a look at your air filters lately? If the answer is “no,” they’ll likely need replacing. In general, filters should be replaced every one to six months. If you can’t see any filter material behind a layer of dust and grime, you definitely need to change them out for new ones. Left unchecked, a dirty air filter could really damage your heating system, leading to costly furnace repairs and even replacement. 3. Program Your Thermostat The harder your heating system has to work, the more wear and tear the system will endure. A programmable thermostat allows you to program your high efficiency heating system to run at specific times of day, at certain temperatures. This increases the efficiency of your heating system by decreasing how hard it has to work throughout the winter. According to ENERGY STAR, the best temperature to set your thermostat during the winter is 68 degrees Fahrenheit when you’re home, and 65 degrees when you’re sleeping. When you’re away, lower your thermostat by 7-10 degrees for maximum efficiency. (If you have pets, be sure to keep the thermostat set at at least 64 degrees.) 4. Clean and Seal Ductwork Think of your ductwork like the lungs of your home, distributing heated air from your furnace to each room in your house. If your ductwork is dirty or has breaches or cracks, air can’t move efficiently through your home. This makes your heating system work harder than it has to, which takes the “efficiency” out of any “high efficiency heating system.” (Not to mention, this hikes up your energy bills!) Get rid of airflow obstructions and leaks by having your ductwork cleaned and sealed by a professional. Not only will this reduce the stress on your heating system, but it will also lead to better air quality for you and your family. 5. Insulate Your Attic By now you’ve probably heard that heat rises, which is why your attic is so darn hot in the summertime. But have you considered what happens in your attic during the winter? Well, if it’s not insulated, nothing good! If you want to make your furnace last longer, you need to insulate your attic. You could have the most wonderful high efficiency heating system on the market, but if your attic isn’t insulated, you’re going to lose a portion of that heat through the roof. Insulating your attic will help keep heat trapped in your home, where it belongs! 6. Run Ceiling Fans Counter Clockwise Do you find yourself standing under your favorite vent to get warm? Run your ceiling fans counter clockwise to help circulate warm air throughout your house. This will help...
Read MoreAccording to the National Fire Prevention Association, heating is the second leading cause of home fires and home fire injuries. As winter approaches, it’s important to brush up on some home heating safety tips. According to NFPA data, nearly half (48%) of all home heating fires typically occur during the months of December, January and February. Being aware of potential fire hazards and taking the necessary steps to neutralize them can greatly reduce the chances of a house fire. Here are 10 home heating safety tips to prevent any fiery accidents this winter. 1. Follow All Safety Instructions Did you know that 81% of home heating fire deaths involved stationary or portable space heaters? While lots of people prefer to avoid reading the directions on most items, reading the instructions of how to operate a space heater in your home can be life saving! This home heating safety tip also goes for larger home heating equipment. 2. Get a Professional Installation As for stationary equipment such as stationary space heating equipment, central heating equipment and water heaters, leave the installation to the professionals! They’ll handle your water heater or furnace installation according to local codes and manufacturers instructions, keeping your HVAC systems running safely. 3. Keep Heating Unit Out of Reach This is home heating safety 101: keep your heating units away from kids or pets whenever possible. Not only could curious children burn themselves, but kids and pets are more apt to knock over any mobile heating units–and a tipped-over space heater is a serious fire hazard. Try to keep space heaters out of reach, and don’t leave your children and pets alone in a room with the space heater. 4. Position Heaters At Least 3 Feet From Anything Flammable The NFPA’s data reports that half of the home heating fire deaths were caused by having heating equipment too close to things that can burn, such as upholstered furniture, clothing mattresses or bedding. In accordance with Consumer Product Safety Commission guidelines, keep your heating unit at least 3 feet away from anything flammable. (We’re sure this goes without saying, but keep it away from water, too!) 5. DON’T Use a Damaged Unit If your heating unit has been damaged in any way, contact the professionals and have them fix it for you. Furnace repair is not the place for a DIY or MacGyver'ed solution. This also goes for cords on your other heating equipment—if you see a frayed cord, do not touch it. Never use a heating unit with a damaged cord, as this can easily cause a house fire. 6. Turn Off Space Heaters at Before Bed While some heaters can be left on at night, it’s a home heating safety best practice to turn off all portable heating units before you go to sleep. If left on, you run the risk of carbon monoxide poisoning or even a house fire. We know it’s tempting to curl up in bed with a space heater just a few feet away, but consider using an electric heating pad in your bed instead. It’ll keep you warm and will turn off after a certain period of time. 7. DON’T Power Space Heaters With Extension Cords Your outlet only has so much power to give, and a space heater demands a lot of it. When you power a space heater—and additional devices—with a surge protector, extension cord, or plug timer, the excessive energy demand will overload the circuit. It allows heat to build up, which can easily result in a house fire. For optimal home heating safety, plug your space heater directly into the wall circuit only. 8. Get On a Consistent HVAC Maintenance Schedule You don’t want to have...
Read MoreIt’s that time of year again: when we crank up the heater and hunker down, watching another winter roll through the Minnesota plains. It’s also the time of year where we start to cough, sneeze, and itch. If you, too, consider yourself a victim of winter-dryness, it’s time to talk about adding a whole-house humidifier to your home’s HVAC system. While winter dryness is uncomfortable, it can also cause a myriad of problems. Here are the top three reasons why a whole-house humidifier can be your best friend this winter season. 1. Health When we turn on our heaters, we’re pulling moisture from the air. Sure, this winter dryness can be irritating, but did you know that it can also negatively impact your health? With cold and flu season here, it’s important to note that viruses that can cause colds and the flu thrive in low-humidity environments. This means, the drier your indoor air quality, the more susceptible your family will be to common winter illnesses. The good news is, maintaining proper humidity levels in your home can actually help reduce the presence of airborne viruses, bacteria, fungi, dust-mites, and other allergens. These irritants can cause a number of health problems, including: Dry skinSore throat Runny nose Bloody nose Cough Respiratory infections Trouble breathing If you want to improve the health and comfort of your family’s home this winter, consider investing in a whole-house humidifier. Whole-house humidifiers attach to your ductwork and blow moist air into your home, raising your home’s humidity levels. And, with systems like the AprilAire whole-house humidifiers, you can control the humidifier from an app on your smartphone. 2. Home Wood is hygroscopic, meaning that it readily takes up and retains moisture. Wood reacts to the relative humidity of its surrounding environment to find equilibrium, meaning that moisture–or lack thereof–can actually change the volume and integrity of the wood. So what does this mean for you? Well, if the air in your home is too dry, your wooden floors, cabinetry, and anything else wooden is susceptible to cracking and warping. To preserve the beauty of your home’s wooden features, make sure your humidity levels are maintained between 30 and 55%. Most whole-house humidifiers come outfitted with digital controls, making it easy to maintain your desired level of humidity. With the proper humidity, your wooden floors and features will maintain their luster for years longer. 3. Energy Efficiency As these midwestern summers remind us every year, higher humidity levels can make the air temperature feel anywhere from 1 to 5 degrees warmer. This is because, thanks to the moisture content in the air, the body’s perspiration evaporates from the skin at a much slower rate, which makes it harder to cool off. During the winter time, though, the humidity is on your side, helping your body maintain its heat. This also means that if the air in your home is too dry, it can actually feel colder than it is. Without the right level of humidity, you’ll find yourself reaching for the thermostat more often, which means you’re putting more stress on your heating system. This also translates to a higher energy bill at the end of the month. At Titan Heating & Cooling, we’re all about efficiency. A whole-house humidifier can help you reduce your energy bill and make your home more energy efficient. You’ll also spend less money on hvac maintenance throughout the year if you use your heater less often! Need a Home Humidifier Installed? Trust Titan Heating & Cooling At Titan Heating & Cooling, not only do we specialize in AC units, heating systems, and HVAC maintenance, but we also offer only the best in humidifier technology: the AprilAire Whole-House Humidifier system. We carry various models of the...
Read MoreAs the chill of September creeps in, Minnesotans know that the frigid winter months aren’t far behind. And though, with the cold months, we must wave goodbye to summer’s outdoor-hobbies, mechanics and DIYer’s still have the option to enjoy their pastimes comfortably in their garage. If the garage is heated, that is. This month, we’re taking a break from talking about HVAC maintenance, and helping with tips and recommendations to keep your garage warm this winter. There are two major components of making your garage a livable temperature: insulation and an efficient heating system. Seal and Insulate Before we even think about heating the garage, it needs to be properly insulated. If it’s not insulated, any heat that gets pumped into the garage will quickly diffuse through the walls, windows, and the garage door. Walls: Most garage walls are just studs that are covered on the outside with sheathing and siding. That means they aren’t insulated like the rest of your home. This makes heating and cooling the area much harder. Luckily, insulating garage walls is a fairly easy task: layer batt insulation between the studs and install plywood sheets or drywall panels to cover them.Windows: If your garage has windows, they’re more than likely letting in some kind of draft. To mitigate this, you can air seal your windows by applying weather stripping and caulk. (Check out our other blog about how to air seal your home for more details on how to do this.) You’ll also want to insulate your windows using a window insulation kit. Simply apply the film to your window and use a hair dryer to shrink it until it fits snugly to the glass. The film will help keep the warm air in and the cold air out.Floors: There’s nothing worse than a freezing-cold garage floor. If you’re planning on working low to the ground (looking at you, mechanics), you’ll definitely want to invest in some kind of garage floor-covering. Even if you’re not planning on being close to the ground, covering your garage floor will instantly make the room feel warmer. Outdoor rugs work well for this, or you could install interlocking rubber mats for extra padding. Door: You’d be hard-pressed to keep your garage warm without fixing up the garage door. Not only are standard garage doors thin and uninsulated, but they also have many gaps on the sides where the door meets the frame. Apply weather stripping to the garage door frame to seal up any gaps. As for insulation, invest in a garage door insulation kit. These kits make it easy to install pre-cut panels of insulation. Choose Your Heat Source Now that we’ve covered how to keep warm air contained in your garage, we can finally talk about choosing a heating system. There are a multitude of products available that will keep your garage warm, but finding the heating system that’s right for you will depend on your budget, the size of your garage, and the garage’s purpose. Portable Space Heaters Space heaters are small, portable heaters that generate warmth via electricity, propane, kerosene, or natural gas. Space heaters such as baseboard heaters and ceiling-mounted space heaters are great options for keeping your garage warm. There are some downsides of space heaters: first of all, they can pose a fire hazard if handled incorrectly. Second, if they operate off of electricity, they can run up your heating bill quite a bit. So you’ll have to be mindful of when you turn them on and how long you run them. Hot Dawg® Garage Heater If you’re looking for a heating solution with versatile installation options, the ceiling-mounted Hot Dawg® Garage Heater frees...
Read MoreThanks to extreme temperatures, summer is the peak season for replacing air conditioning units. Unfortunately, as demand spikes, so do prices. But don’t worry–your AC might not need replacing just yet. Depending on the situation, it might actually be worth applying a temporary fix in late summer so you can buy a new system during the off season (fall through spring) when AC units are less expensive. Before you decide if your AC needs replacing, though, here are seven questions you should be asking yourself. Is your AC old? No matter how consistent you’ve been with HVAC maintenance, the average life expectancy for an AC unit is about 10-15 years. If your unit is within this age-bracket, then it may be time to consider investing in a replacement. Still, if your old AC isn’t giving you any problems, it might be smart to wait until the off season to buy a new system. Conversely, if your air conditioning unit is old and it’s giving you any of the problems listed below, you might need an immediate replacement. Have your monthly energy bills spiked? One of the first signs of an old or degrading air conditioner is inefficiency. If you’ve noticed that you’re paying much more for your energy bill than you’re used to paying at this time of year, it’s probably a sign that your AC is giving out. In general, older air conditioners have to work much harder to cool your home, meaning they use a lot more energy–and cost a lot more money. Of course, this may also be a sign of poor insulation in your home which could be caused by many different factors. It’s best to schedule an inspection first before you make the leap and buy a new system. Are temperatures uneven throughout the house? Have you noticed various hot spots around your home? Not only do aging ACs have to work harder, but they also have issues keeping temperatures even. It’s important to note that this issue could just be caused by an improperly sized AC unit, or by disintegrating ductwork. However, disintegrating ductwork is another sign of an aging AC, so while you can call a professional to come out and fix the ductwork, you may still need to replace the AC unit eventually. Is your AC noisier than normal? It’s common for most AC units to make some kind of noise when they kick on. But other noises can indicate serious issues. If you’re hearing sounds like squealing, grinding, scraping, or frequent loud pops and bangs, then you need to schedule an appointment with a professional as soon as possible. Your HVAC technician will be able to tell you if you need AC repairs or a full replacement. Have you already made expensive AC repairs in recent years? If your AC unit is still giving you problems after you’ve already replaced expensive key components, it might be more cost effective to simply replace it. This is especially true if your system is over that 10-year mark. If your AC is still under warranty, though, ask your HVAC specialist about what they can do for you in this situation. Are you seeing signs of poor air quality in your home? If you have people living in your home who have had frequent bouts of allergies or asthma, your air quality might be partially to blame. Old and disintegrating AC units often have problems with ventilation, meaning they are more likely to blow dust and pollen throughout your home. If you’ve noticed that your home is more dusty or humid than usual, your ventilation should be a key suspect. Call a trusted HVAC company and choose from their list of air conditioning...
Read MoreWe’ve all been there. You set the thermostat to a reasonable 78 degrees, but when you walk into that one particular room–whether it’s your guest room, your office, or if you’re really unlucky, your bedroom–it feels like a balmy 82. So rather than deal with this problem all summer long (like you did last summer…and the summer before that), you’ve decided to research the issue and find a solution. Good for you! You’ve come to the right place. As HVAC maintenance specialists, the crew at Titan Heating and Cooling has definitely heard this question before. And the answer isn’t always air conditioning repair services. In fact, there are several possible reasons why one room is hotter than the rest of the house. Below, we’ve listed five common culprits of a temperature imbalance and offered up a solution for each. Poor Insulation Aside from being hotter in the summertime, is the room in question always colder in winter? If the answer is yes, your problem might be poor insulation. When a room isn’t insulated well, more air is able to escape through the walls of your home, causing your heating and air conditioning systems to work overtime. That also means that in the winter, your heater is warming up icicles, and during the summer, the AC is cooling off your shrubbery. Not a pleasant thought. If you’ve lived at your residence for a while, it might be time to have a professional come conduct an inspection to find out if your home needs new insulation. When a room is properly insulated, it will hold its temperature much better. Windows There’s nothing better than a lovely view, and big windows through which you can appreciate it. But, if your windows are old or poorly sealed, they can easily let air escape from your home, changing the temperature in the room. Even if your windows are brand new, they can still cause issues. Statistically, windows are to blame for about 13% of air leakage in a home. There are a couple of solutions here. If your problem is that your windows are just old, you can have a professional come out and air seal your windows for you, or check out our blog on how to air seal your home yourself. If your windows are brand new, however, consider applying special temperature control window film to them. These films will help stabilize the temperature in that particular room by blocking UV rays from getting into the room and cool air from leaving it. Distance From the AC Is your extra-warm room far from the AC unit? It’s not unheard of for rooms that are farthest away from the AC to not get its full effects. There are a couple reasons for this. Your AC system could be too small for your home. Long runs of ducts might be poorly insulated, allowing cool air to escape before it reaches a particular room. Adding insulation to your ducts is a fairly simple fix. However, if it turns out that your AC is too small for your home, you may need to consider upgrading your air conditioning system. The skilled HVAC technicians at Titan would be able to determine the proper air conditioning unit for the size of your home. Obstructed Air Vents/Dirty Filters Though checking the air vents is probably the first thing you did when you noticed the different temperatures in your home, it’s still worth double checking. Are the vents open all the way? Is there any furniture in front of the air vent that may be blocking airflow? If you’ve checked off both of those boxes, then your problem might lie in the filter that sits directly behind the air vent. Did...
Read MoreAs temperatures rise, your first instinct may be to head for the thermostat. But overworking your air conditioner can be hard on your wallet. Additionally, it causes more wear and tear on your A/C unit, which may have you paying for A/C repair or replacement sooner than you’d like. Did you know that there are alternative ways to cool your home? Yep, that’s right. There are tons of cooling methods you can use, either without running your air conditioner, or in tandem with efficient A/C use. So, instead of overworking your A/C (and hiking up your energy bill in the process), consider some cost-efficient alternatives. Here are 11 home-cooling hacks that can keep you and your house cool this summer. Test drive a couple of these tips this summer to keep you and your family cool. Of course, no matter what home-cooling “hacks” you try, A/C use will be inevitable on some days. Check out our tips to make sure you’re using your A/C efficiently this summer. Install ceiling fans and run them counterclockwise. Let’s start with some classic advice: If you haven’t already, you need to install ceiling fans. Running them counterclockwise in the summer will help push cool air down instead of pulling it up. (Set them clockwise in the winter for the opposite effect.)Run bathroom and kitchen exhaust fans. Hot air tends to linger after you cook dinner or shower. Turn on the exhaust fans to suck all that hot air out of your home.Close your curtains during the day. This will block out some sunlight and reduce the heat that comes in through the windows. (Take down any dark, synthetic drapes you may have. Opt for cotton or sheer curtains instead for filtered light).Change out your light bulbs. Most people don’t realize that their incandescent bulbs emit heat. According to the Center for Sustainable Energy, incandescent bulbs waste 90% of the energy they use, which is given off as heat. Switch them out for fluorescent or LED bulbs, instead. Not only are these bulbs cooler, but they’re also more efficient. Use the ice “hack” on your portable fan. Fill a bowl with ice and place it on a table or other surface that’s level with your portable fan. Then, turn on the fan for a blast of icy breeze with a cooling mist. Use this method for instant relief from muggy summer days.Invest in a Chillow or DIY your own. What’s cooler than the other side of your pillowcase? How about a Chillow? A Chillow is a cooling pad that you can place over your pillow. It works wonders for hot sleepers. You can also DIY your own cooling pillow by filling up a small pillowcase with rice and sewing it shut. Store the rice pillow in the freezer during the day, and at night, sleep on it like a regular pillow. The rice will keep its cold temperature for a while, making for a cool night’s rest.Apply heat-reducing film to your windows. Block out anywhere from 70-90% of the heat coming in through your windows with reflective film. Not only do window films cut down on excessive heat, but they also stop some of the cold air that seeps in through windows in the winter. Install duct boosters. If you want to draw more cool air into certain rooms, give your air ducts a boost! A duct booster fan is a fan that fits inside an air duct and can be turned on to increase the airflow in a room. Try this out if you have certain rooms that just won’t cool down. Cross ventilate your home. Most people know to open...
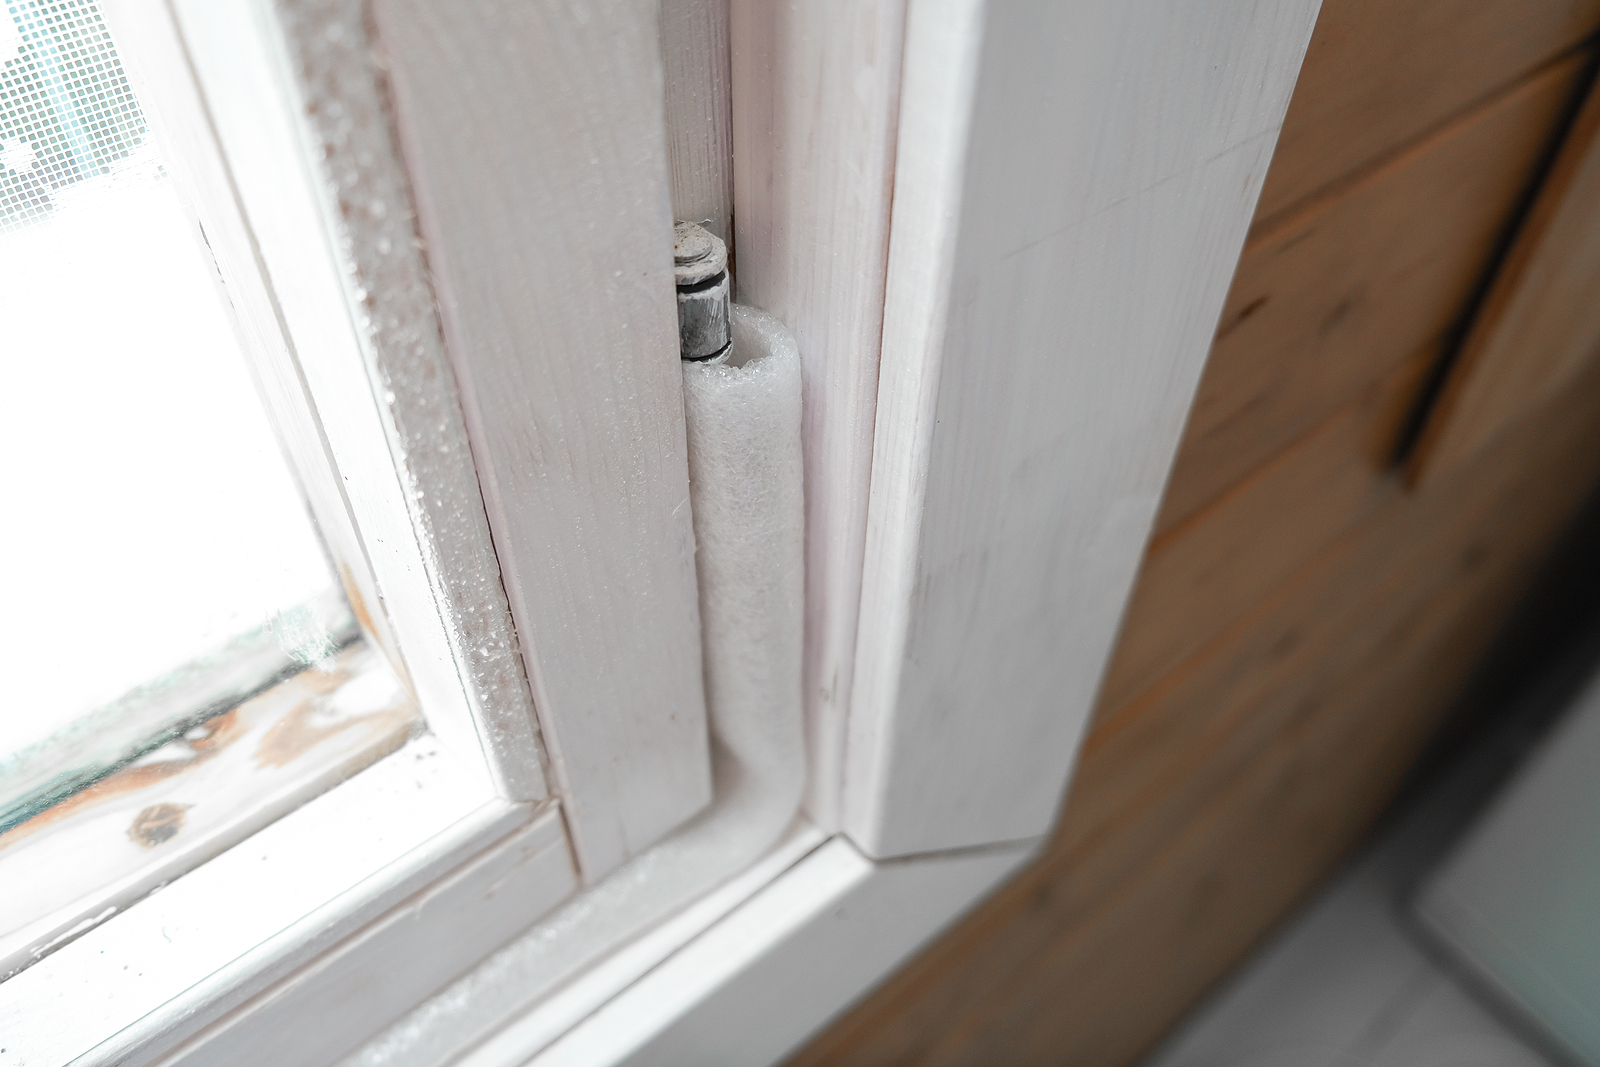
Read MoreDo you like the idea of outside air creeping into your home? How about conditioned and heated air escaping outside? If you pay your monthly energy bill, your answer is probably “NO!” Well, that’s what happens when air leaks are left unsealed in your home. Here are a few warning signs that you’ve got more than a few air leaks: Your HVAC system is constantly running. Your utility bills have noticeably increased. Different rooms have different temperatures. Your allergies act up even when you’re inside all day. According to the Environmental Protection Agency (EPA), homeowners can save an average of 15% on their heating and cooling costs by air sealing and adding insulation to their homes. Other benefits of air sealing include increasing the lifespan of your A/C and heating units and improving your family’s physical health. While you can hire a professional to air seal your home, it is also entirely possible to do the job yourself. Read on to learn about the basic processes of identifying and sealing different areas of your house. How To Identify Air Leaks Visual Inspection The first step you need to take in identifying air leaks in your home is to take a visual inventory of your home’s wear and tear. Survey both the outside and inside of your property and look for any cracks or gaps that are visible to the naked eye. Revisit old insulation materials and make sure they’re still intact. Scan the window and door frames during the day to make sure no sunlight is able to sneak through the cracks. DIY Techniques To Find Large Air Leaks After you’ve noted all the air leaks that you can see, it’s time to double check for large air leaks that aren't so obvious. Below are a variety of DIY techniques that can help you locate large air leaks in your windows, doors, and vents. Dollar Bill Technique: Stick a dollar bill into the frame of your exterior door or window and close it. If you’re able to easily slip the bill out again, chances are high that you have an air leak. Hand Test: Locate larger air leaks using your sense of touch. On a cold day when your heater is running, hold your hand in front of any closed exterior doors, windows, or vents and fans. If you can feel cold air coming in, you have an air leak. Flashlight Method: After the sun has gone down, ask a friend or family member to stand outside while you shine a flashlight at any suspected air leaks. If they see any light shining through the cracks, there’s an air leak. DIY Techniques To Find Small Leaks With air leaks, you do need to sweat the small stuff. Small leaks can come from several places, including light fixtures, electrical outlets, baseboards, and crown moldings. Try any of the below methods to identify small leaks in your home. Candle Test: Sniff out smaller leaks with a candle test. Close all the doors and windows of your home and make sure the A/C or heater is off. Light a candle and walk to areas that you suspect have air leaks. Place the candle near the area you want to test, and watch the flame. Flame movement indicates an air leak. Paper Test: Can’t find a candle? Use paper, instead. Hold a piece of paper near any possible problem areas, such as electrical outlets or windows. If the paper moves, you know there’s an air leak. Incense Test (Depressurization): Smoke out suspected problem areas with this depressurization method. On a cold and windy day, close all exterior doors and windows, and turn on all fans in your kitchen and bathrooms. Pass a lit stick of...
Read MoreThere is a lot being said about smart home technology these days, but is it just the latest buzzword, or will it really save you money? Smart technology for the home can encompass a wide variety of gadgets, from smart appliances to smart home hubs like Amazon Alexa. In the HVAC world, smart thermostats have become increasingly popular among homeowners trying to keep their homes comfortable while conserving energy and saving money. Here’s the lowdown on smart thermostats and how they could help you save money on your heating and cooling costs. Traditional, Programmable, and Smart Thermostats: What’s the Difference? First things first, let’s distinguish between the different types of thermostats available. A traditional, or “old-school” thermostat is a very simple device on the wall that allows you to manually control the temperature in your home by turning a dial. If you live in an older home or apartment, you might have this type of thermostat. A traditional thermostat is the least expensive option available. A programmable thermostat is a digital device that allows you to program a temperature schedule for your home — i.e., you can set it to turn the heat or air conditioning up or down at specific times throughout the day. Programmable thermostats are middle of the road as far as pricing goes. They’re more expensive than traditional ones, but still more affordable than smart thermostats. A smart thermostat lets you control even more than a programmable thermostat does through high-tech features like Wi-Fi connectivity, self-monitoring, predictive controls, and more. Plus, you can control a smart thermostat from either a digital wall panel or a smartphone app, so you can adjust your home’s climate wherever you are. A bigger investment than a traditional or programmable thermostat, smart thermostats can cost anywhere from $100-$500 or more, depending on the brand, model, and features. How Does a Smart Thermostat Save Energy? Smart thermostats have the potential to provide significant energy savings — in many cases, enough to recoup their cost within a year or two. Here’s how they do that. It Can Tell If You’re Home or Not This may sound like the beginning of a horror movie, but rest assured, there’s no evil villain at work here. One of the ways a smart thermostat reduces energy consumption is by tracking your location via your smartphone and adjusting your home’s temperature accordingly. For instance, when you leave for work in the morning and reach a certain distance from home, your smart thermostat will read your location and automatically turn down the heat or A/C to save energy. Then, when you’re on your way home and come within a certain distance of your house, the thermostat will turn up the heat or A/C again. This way, you save energy on heating and cooling costs while maintaining a comfortable temperature in your home…all without you having to lift a finger. With Self-Programming Features, It Can Learn Your Preferences With a smart thermostat, you don’t have to spend time programming an exhaustive custom schedule (unless you want to). The device can learn your habits and preferences and create a schedule accordingly. It can take a couple of weeks or so for the device to learn your habits. In that time, you can simply adjust the temperature from your smartphone app or wall panel to help it learn what temperature you like at what time of day. Eventually, it will make those changes automatically. It Monitors Your Energy Consumption A smart thermostat will also track your usage patterns to show you how much energy you’re using as well as a comparison between your set temperatures, actual room temperatures, and outside temperatures. Some of them will even compare your usage with that of the average home...
Read More
