

How To Find and Fix Air Leaks in Your Home
Do you like the idea of outside air creeping into your home? How about conditioned and heated air escaping outside? If you pay your monthly energy bill, your answer is probably “NO!”
Well, that’s what happens when air leaks are left unsealed in your home.
Here are a few warning signs that you’ve got more than a few air leaks:
- Your HVAC system is constantly running.
- Your utility bills have noticeably increased.
- Different rooms have different temperatures.
- Your allergies act up even when you’re inside all day.
According to the Environmental Protection Agency (EPA), homeowners can save an average of 15% on their heating and cooling costs by air sealing and adding insulation to their homes. Other benefits of air sealing include increasing the lifespan of your A/C and heating units and improving your family’s physical health.
While you can hire a professional to air seal your home, it is also entirely possible to do the job yourself. Read on to learn about the basic processes of identifying and sealing different areas of your house.
How To Identify Air Leaks
Visual Inspection
The first step you need to take in identifying air leaks in your home is to take a visual inventory of your home’s wear and tear. Survey both the outside and inside of your property and look for any cracks or gaps that are visible to the naked eye. Revisit old insulation materials and make sure they’re still intact. Scan the window and door frames during the day to make sure no sunlight is able to sneak through the cracks.
DIY Techniques To Find Large Air Leaks
After you’ve noted all the air leaks that you can see, it’s time to double check for large air leaks that aren’t so obvious. Below are a variety of DIY techniques that can help you locate large air leaks in your windows, doors, and vents.
- Dollar Bill Technique: Stick a dollar bill into the frame of your exterior door or window and close it. If you’re able to easily slip the bill out again, chances are high that you have an air leak.
- Hand Test: Locate larger air leaks using your sense of touch. On a cold day when your heater is running, hold your hand in front of any closed exterior doors, windows, or vents and fans. If you can feel cold air coming in, you have an air leak.
- Flashlight Method: After the sun has gone down, ask a friend or family member to stand outside while you shine a flashlight at any suspected air leaks. If they see any light shining through the cracks, there’s an air leak.
DIY Techniques To Find Small Leaks
With air leaks, you do need to sweat the small stuff. Small leaks can come from several places, including light fixtures, electrical outlets, baseboards, and crown moldings. Try any of the below methods to identify small leaks in your home.
- Candle Test: Sniff out smaller leaks with a candle test. Close all the doors and windows of your home and make sure the A/C or heater is off. Light a candle and walk to areas that you suspect have air leaks. Place the candle near the area you want to test, and watch the flame. Flame movement indicates an air leak.
- Paper Test: Can’t find a candle? Use paper, instead. Hold a piece of paper near any possible problem areas, such as electrical outlets or windows. If the paper moves, you know there’s an air leak.
- Incense Test (Depressurization): Smoke out suspected problem areas with this depressurization method. On a cold and windy day, close all exterior doors and windows, and turn on all fans in your kitchen and bathrooms. Pass a lit stick of incense over the areas where you suspect you have a leak. If the smoke is sucked outside or blown back inside the house, you’ve found an air leak.
Or, Call In The Professionals/Use Professional Equipment
If you’re unsure about your DIY skills, you can also use equipment made specifically to find air leaks. Or, you can choose to leave it to the professionals.
- Air Leak Detectors: Use a smoke pencil air leak detector in the same way you would an incense. Point the detector toward the suspected leak and watch the way the smoke blows to identify a leak. Ultrasonic air leak detectors can also identify air leaks using ultrasound waves.
- Blower Door: If you don’t want to do your own depressurization, you can hire a professional to conduct a blower door test. After sealing your home, a contractor will install a blower fan in the doorway to suck all the air out of your house and depressurize it. This forces outside air to seep in through any cracks or leaks, which the contractor will then be able to find.
How To Seal Air Leaks
Okay, so using one (or several) of the methods above, you’ve located all the air leaks in your home. Now what?
Well, that depends on what part of the house you’re in. To seal the air leaks in your home in the most time-efficient way, separate out the job by sections. You will need different types of sealant for different kinds of leaks.
For any kind of air sealing work, make sure you’re protected. You will need to wear pants and long sleeves, eye protection, a dust mask, and a hard hat or cap. Additionally, try to stay hydrated and always keep a flashlight nearby while you work.
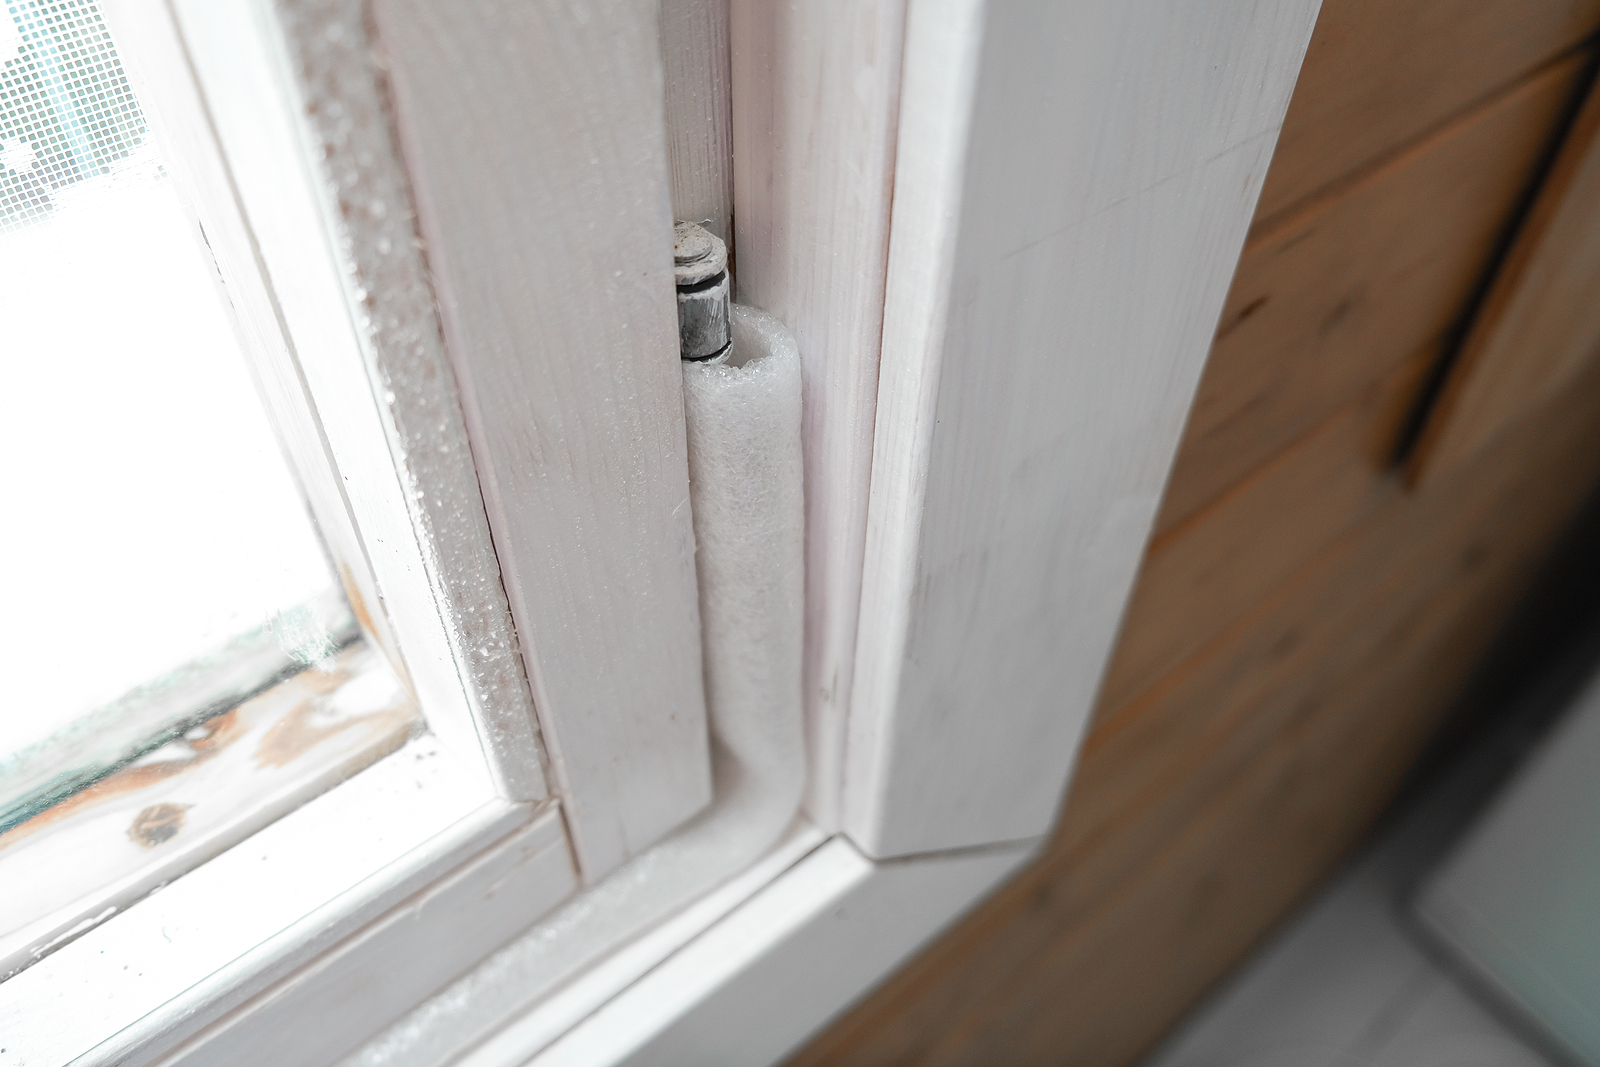
Start With Your Doors and Windows
Air leaks in your windows or doors could cause a major energy drain on your home. If you’re experiencing problems with your A/C and/or your heating unit, sealing these areas can improve their durability and longevity.
Directions:
- Use caulk to seal up small cracks around doors and window frames.
- Apply weather stripping to movable components, such as the sash on double hung windows or between door and side jams.
- You can also install draft stoppers where the window sash meets the sill, or draft guards underneath doors to close any air leaks.
Next, Attack the Attic
Because heat rises, much of your home’s warmth can be lost through air leaks in the attic. According to EnergyStar.gov, the attic is where you can usually find the biggest opportunities to save energy.
Note: If your attic contains vermiculite insulation, have it tested for asbestos before sealing. For more detailed directions on how to safely air seal your attic, visit EnergyStar.gov.
Directions:
- Insulate stud cavities and kneewalls with batt or fiberglass insulation that’s folded and stuffed into a garbage bag.
- Cover dropped soffits with reflective foil, using caulk as the adhesive to hold it in place.
- Seal the gaps between the furnace flue and the house framing/insulation with lightweight aluminum flashing and heat resistant caulk as the sealant. (Note: Furnace flues can be extremely hot, so work with caution).
- Fill around wiring and plumbing holes with expanding foam insulation, and apply caulk to holes in electrical junction boxes.
Seal Up the Basement
Is your HVAC system working overtime in the winter? Air sealing your basement will make sure no cold air can enter through the basement and throw off the temperature in your home. (For additional ways to trap in the heat, check out our other blog post on how to keep your basement warm.)
Directions:
- Seal the top and bottom of rim joist cavities with caulk for small cracks and spray foam for larger gaps.
- Use caulk or spray foam to seal any venting ducts that lead outside, as well as all electrical, water, or gas penetrations.
- For large holes in the basement ceiling, cover with drywall or rigid foam and seal with caulk.
Save More Energy in Your Home With HVAC Maintenance From Titan
Once your home is air sealed (and later, fully insulated), you can expect to see a dramatic improvement in your energy bill. From there, it’s all maintenance. Scheduling regular maintenance of your HVAC system ensures that it’s always operating at peak efficiency.
If your energy bill is still sky-high in the summer and winter months even after sealing, it may be time to replace your A/C or heating unit.
Make sure you’re getting the most out of the time and effort you spent air sealing your home! For HVAC maintenance, repair, or replacement, rely on the professionals at Titan Heating and Cooling to get the job done. Contact us here or call us at 651.714.8931 to schedule your appointment today!
Note: Air sealing your home could potentially trap hazardous indoor pollutants inside. Be sure to test your indoor air quality first and install carbon monoxide detectors. Additionally, consider hiring a professional to install an HVAC air purifier. This will ensure that your HVAC system isn’t introducing harmful pollutants into your home.