

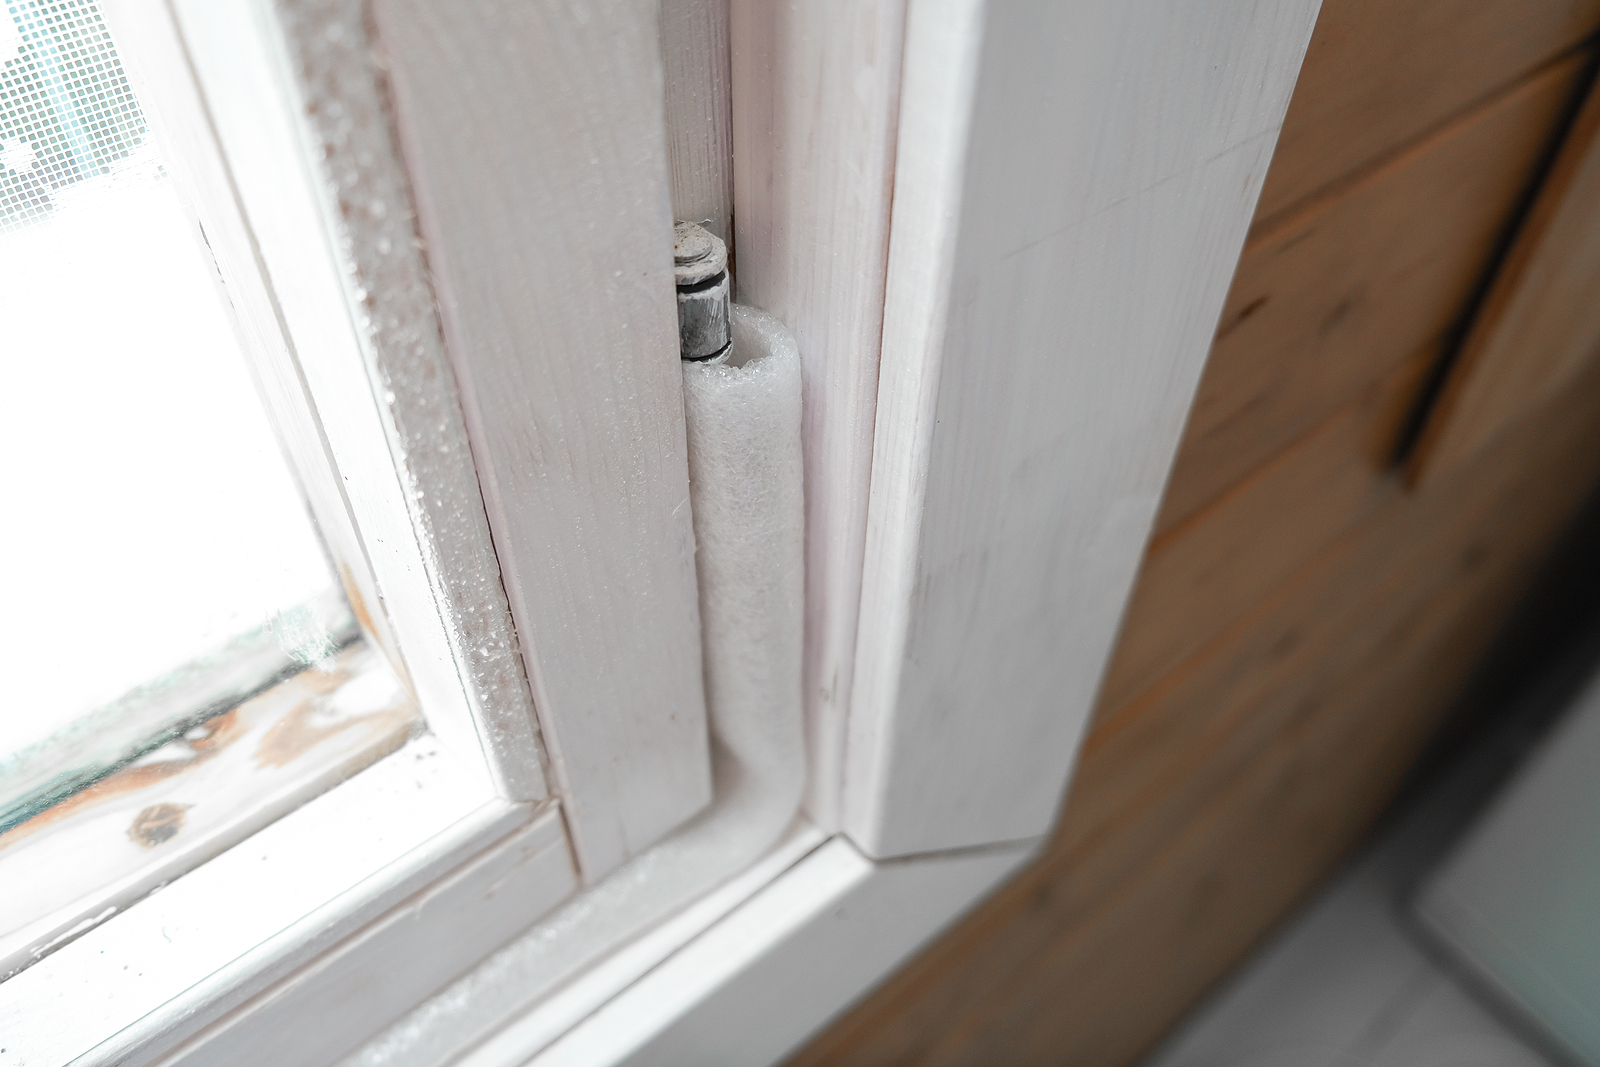
Do you like the idea of outside air creeping into your home? How about conditioned and heated air escaping outside? If you pay your monthly energy bill, your answer is probably “NO!” Well, that’s what happens when air leaks are left unsealed in your home. Here are a few warning signs that you’ve got more than a few air leaks: Your HVAC system is constantly running. Your utility bills have noticeably increased. Different rooms have different temperatures. Your allergies act up even when you’re inside all day. According to the Environmental Protection Agency (EPA), homeowners can save an average of 15% on their heating and cooling costs by air sealing and adding insulation to their homes. Other benefits of air sealing include increasing the lifespan of your A/C and heating units and improving your family’s physical health. While you can hire a professional to air seal your home, it is also entirely possible to do the job yourself. Read on to learn about the basic processes of identifying and sealing different areas of your house. How To Identify Air Leaks Visual Inspection The first step you need to take in identifying air leaks in your home is to take a visual inventory of your home’s wear and tear. Survey both the outside and inside of your property and look for any cracks or gaps that are visible to the naked eye. Revisit old insulation materials and make sure they’re still intact. Scan the window and door frames during the day to make sure no sunlight is able to sneak through the cracks. DIY Techniques To Find Large Air Leaks After you’ve noted all the air leaks that you can see, it’s time to double check for large air leaks that aren't so obvious. Below are a variety of DIY techniques that can help you locate large air leaks in your windows, doors, and vents. Dollar Bill Technique: Stick a dollar bill into the frame of your exterior door or window and close it. If you’re able to easily slip the bill out again, chances are high that you have an air leak. Hand Test: Locate larger air leaks using your sense of touch. On a cold day when your heater is running, hold your hand in front of any closed exterior doors, windows, or vents and fans. If you can feel cold air coming in, you have an air leak. Flashlight Method: After the sun has gone down, ask a friend or family member to stand outside while you shine a flashlight at any suspected air leaks. If they see any light shining through the cracks, there’s an air leak. DIY Techniques To Find Small Leaks With air leaks, you do need to sweat the small stuff. Small leaks can come from several places, including light fixtures, electrical outlets, baseboards, and crown moldings. Try any of the below methods to identify small leaks in your home. Candle Test: Sniff out smaller leaks with a candle test. Close all the doors and windows of your home and make sure the A/C or heater is off. Light a candle and walk to areas that you suspect have air leaks. Place the candle near the area you want to test, and watch the flame. Flame movement indicates an air leak. Paper Test: Can’t find a candle? Use paper, instead. Hold a piece of paper near any possible problem areas, such as electrical outlets or windows. If the paper moves, you know there’s an air leak. Incense Test (Depressurization): Smoke out suspected problem areas with this depressurization method. On a cold and windy day, close all exterior doors and windows, and turn on all fans in your kitchen and bathrooms. Pass a lit stick of...
Read More