

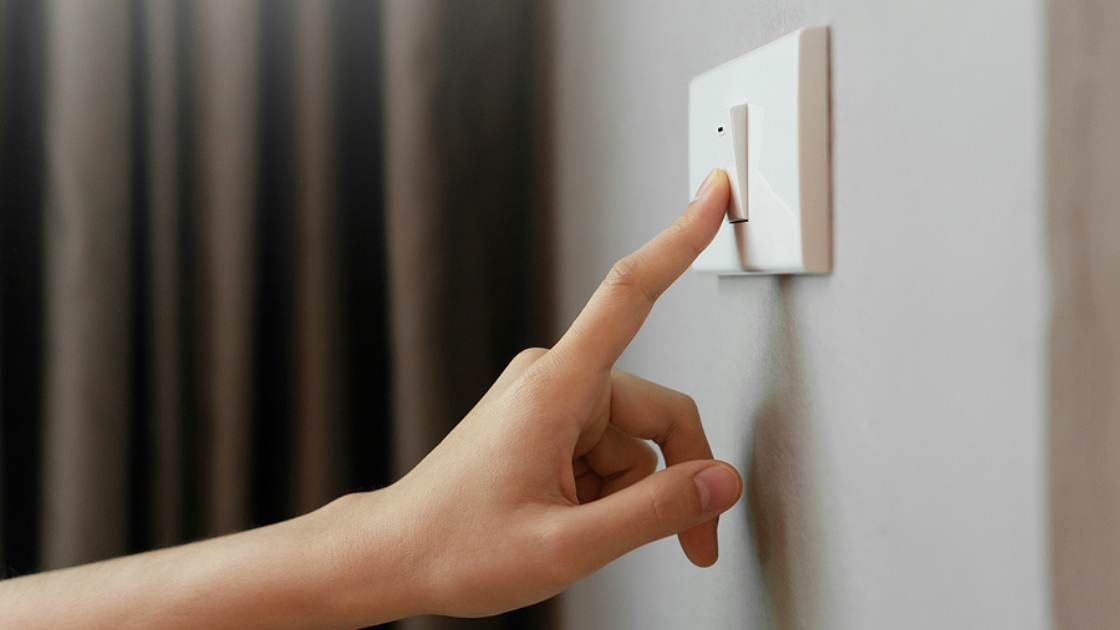
Believe it or not, summer is right around the corner. Sunshine, blue skies, and warm weather are just weeks away! As exciting as that is, once it starts to warm up out there, you’ll want to make sure your air conditioning unit is ready to keep your home cool and comfortable. Take a few steps now to make sure your air conditioner is in tip top shape so that when those warm temperatures hit, you can simply flip the switch for cooler indoor air. Follow these 9 steps before turning on your air conditioner this year. 1. Inspect Air Vents and Ductwork Move items that are on or near air vents that could block the flow of air, such as furniture or drapes. Take a peek inside the grate to check for any items that have fallen through. Lift up the grate to remove items if needed. Check exposed ductwork for wear and tear. A few common issues to look for are: Gaps between duct sectionsFallen duct sectionsDisconnected jointsTears in flexible duct sections Seal up any problem areas, and contact a professional to make the necessary repairs. Worn ducts can be a major source of cooling loss and system inefficiency, leading to less efficient cooling, higher energy bills, and future air conditioning repairs. 2. Change Air Filter Your HVAC air filter traps contaminants that your system removes from the air as it runs. Once your filter becomes too full, it can no longer trap these contaminants, and excess dust and debris settle within your HVAC system. This in turn contributes to malfunctions or even breakdowns. To prevent this and maintain good air flow throughout your system, your air filter should be changed every 2-3 months or so. You should change the filter more often if you have indoor pets or family members with asthma or allergies. It’s a good idea to get in the habit of checking your air filter every month and changing it when it appears clogged. 3. Check Drain Line Your system should have a drain by the indoor cooling coil (often mounted above the furnace). The drain line can become clogged with dirt buildup as the system runs. If that happens, water could back up in the drain pan, potentially resulting in water damage to your home. You can flush the drain using bleach and water (one cup of bleach to one gallon of water), or have a professional clean it out for you. 4. Upgrade Your Thermostat If your thermostat is outdated, consider installing a new programmable or smart thermostat to save both energy and money. Replacing an old, inefficient thermostat with a new one can result in more even temperature regulation throughout your home. A new programmable or smart thermostat will be more efficient and better able to respond to changes in outdoor temperatures. 5. Inspect the Outdoor Condenser Unit Check the panels that encase your unit’s electrical connections, and call for repair if any are missing or misaligned. Harsh winter weather and storms with high winds can damage these panels or knock them loose. Running your air conditioner with missing or damaged panels can pose a major safety risk. 6. Clear Away Debris and Trim Landscaping Around Exterior Unit Leaves, twigs, grass clippings, or other debris can block the components of your outdoor A/C unit, resulting in reduced performance. Clean the area surrounding the unit, removing any blockages. Use a light spray of water to rinse away built-up dirt, pollen, and grime. Keeping your air conditioner and the area around it clean and free of obstacles will help promote good air flow and maximum cooling efficiency. 7. Check Insulation on Refrigerant Lines Your outdoor unit has coolant lines that run to...
Read More